How to clean your safety razor

Mission Objective: Clean Your Safety Razor
Agent, your mission, is to maintain the integrity of your safety razor—an indispensable tool in the field of wet shaving. Failure to properly care for this instrument could compromise not only your shave but the mission itself. Read carefully. This information is classified.
The safety razor, code-named Sharp Edge, is a precision tool. Like all weapons in your arsenal, it requires regular maintenance to ensure peak performance. Failure to clean it thoroughly can lead to dangerous build-ups, dull blades, and worst of all—rust. Here's how you keep your trusty ally sharp and ready for the next shaving mission.
Mission Protocol: Equipment Required for Safety Razor Maintenance
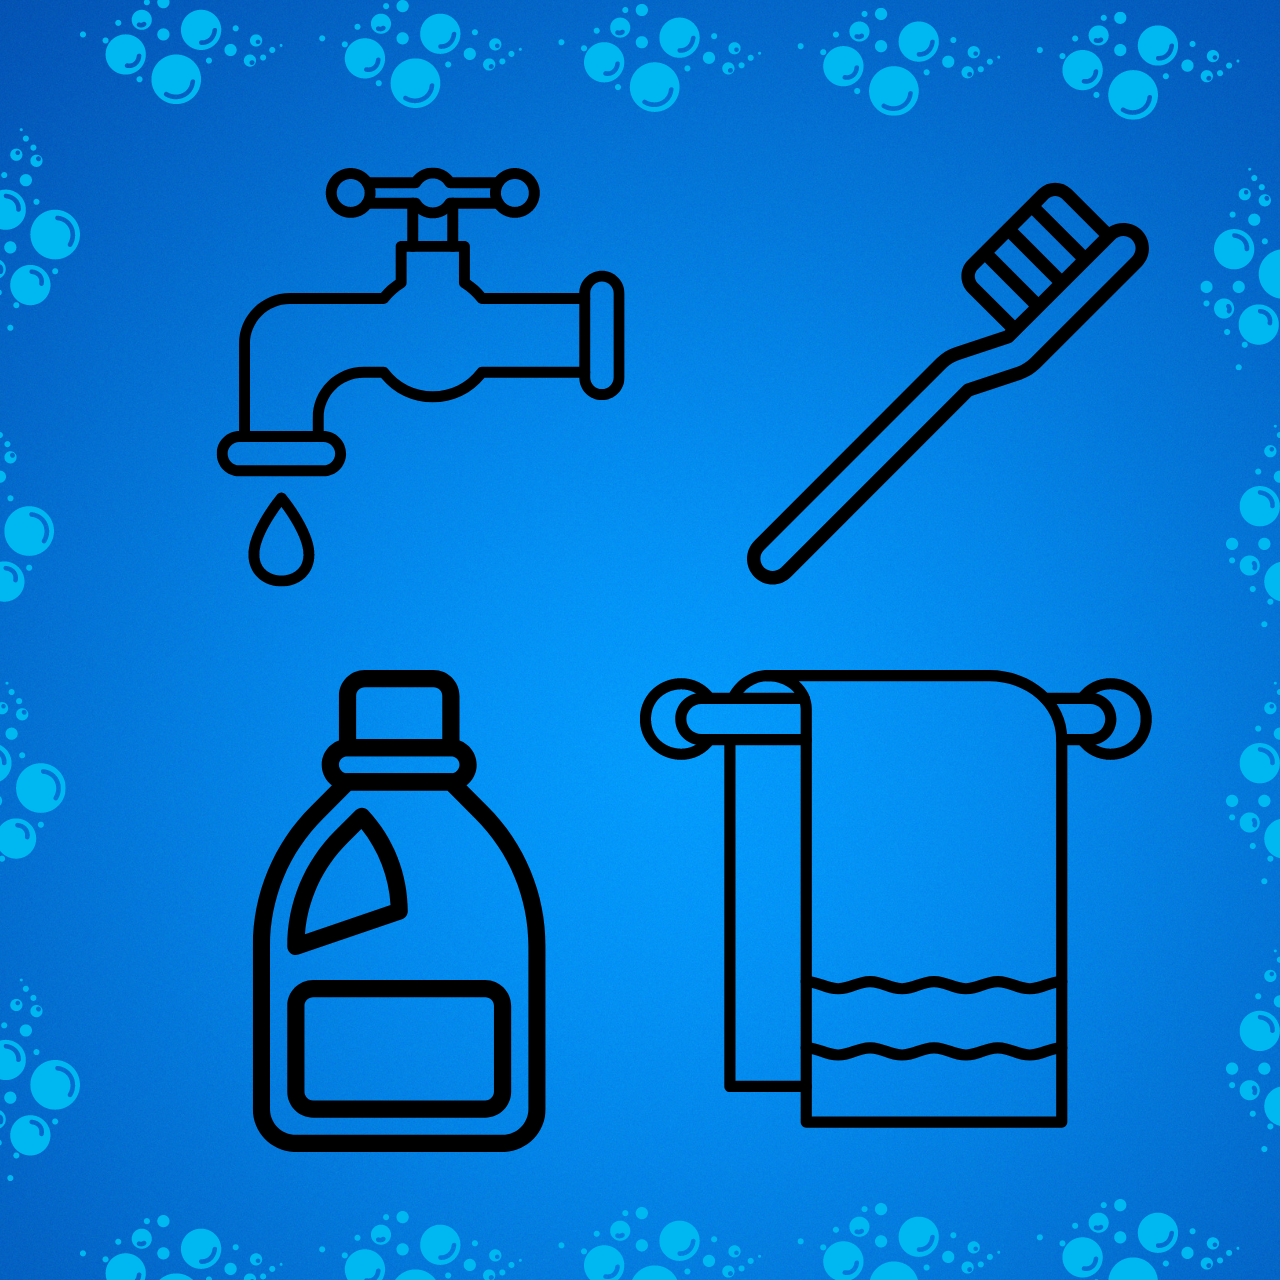
To clean your safety razor, you’ll need the following tools from your secret kit:
- Warm Water: Essential for loosening debris.
- A Soft Toothbrush: Perfect for scrubbing away the enemy: soap scum and hair clogs. Why not recycle that old toothbrush that you are about to throw away?
- Dish Soap or a Gentle Detergent: The unsung hero to cut through any grime.
- Rubbing Alcohol: To sterilise and keep the enemy bacteria at bay.
- A Clean, Soft Towel: For drying.
How Often Should You Clean Your Razor?
This isn’t a one-time op, agent. To avoid jeopardizing your shaving mission, you’ll need to clean your safety razor after every 5 to 7 shaves. However, if you notice build-up earlier, proceed with the cleaning protocol immediately.
Shaving Soap Residue: A Silent Saboteur
Shaving soap residue may look innocent, but it builds over time, dulling your safety razor and ruining your mission. To prevent this, rinse your razor thoroughly after every use. A weekly soak in warm, soapy water followed by a quick scrub will ensure your razor is free from build-up.
Unclogging the Razor: Precision Required
Should your razor become clogged with stubble or shaving soap residue mid-operation, don’t panic. Disassemble the razor. Run it under warm water while using a soft brush to dislodge any stubborn buildup. If necessary, soak the parts in warm water with dish soap for 10 minutes to soften hardened debris before scrubbing.
Sterilising with Rubbing Alcohol: The Decontamination Procedure
Sterilising your safety razor with rubbing alcohol is a key manoeuvre to eliminate bacteria, prevent infections, and keep your safety razor in top condition. Here’s how to execute this covert operation:
1. Disassemble the Razor: Break down your safety razor into its components—handle, blade, and guard. Be careful, agent, the blade is sharp.
2. Rinse Under Warm Water: First, rinse the razor parts under warm water to remove any loose debris or shaving cream residue.
3. Prepare the Rubbing Alcohol: Use 70% isopropyl alcohol for optimal sterilisation. Fill a small bowl with enough rubbing alcohol to fully submerge the razor parts.
4. Submerge and Soak: Immerse the razor components in the alcohol for about 5 to 10 minutes. This will effectively eliminate any bacteria or lingering contaminants.
5. Remove and Dry: After soaking, carefully remove the parts from the alcohol bath. Blot them dry with a clean towel.
Ensure your razor is completely dry before reassembling to avoid moisture buildup, which could attract rust.
How Many Shaves Can You Get Out of a Safety Razor?
The lifespan of the razor blade depends on your mission's intensity and hair type. On average, safety razor blades should last between 5 to 7 shaves before you’ll need to swap it out for a fresh one. A dull blade is a liability, agent—always be prepared with a replacement.
Extending the Lifespan of Your Safety Razor
Yes, cleaning does more than just maintain your razors appearance—it prolongs its operational life. A clean razor experiences less wear and tear, ensuring smooth shaves and reducing the chance of rust. Remember: cleaning your safety razor will make it last longer, keeping your operations running smoothly.
Drying Your Razor:
The Crucial Final Step After every mission—whether it’s a shave or a full clean-up—dry your razor meticulously. Use a soft towel to blot dry each piece, especially the blade. Avoid air-drying, as lingering moisture could lead to corrosion, which brings us to your next objective: preventing rust.
Preventing the Razor Rust Threat
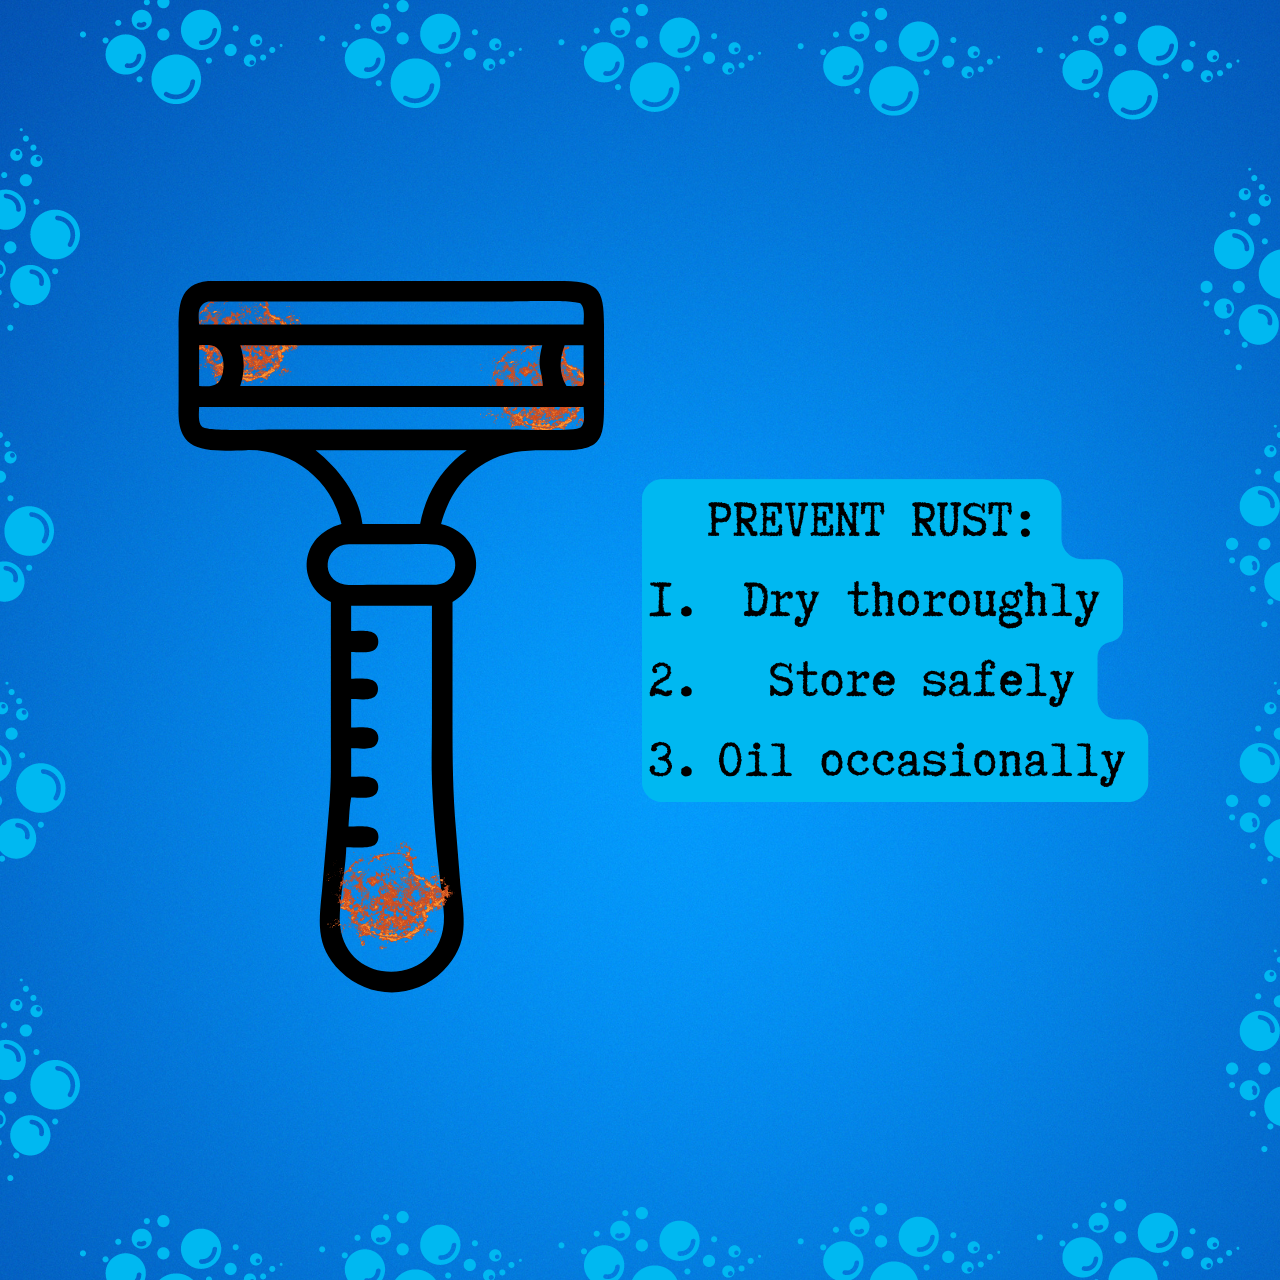
Rust can compromise your razor’s integrity. Here’s how to prevent it from developing:
1.Dry thoroughly: Rust thrives on moisture. Keep the razor dry after each use.
2.Store safely: Avoid leaving your razor in a damp area like the shower. Instead, store it in a dry, cool place.
3.Occasional oiling: A drop or two of mineral oil on the moving parts will keep rust at bay and maintain smooth functionality.
Rust Removal: Emergency Protocol
In the unfortunate event that rust does strike, it’s not time to retire your razor just yet. Soak the affected parts in a mix of water and white vinegar for a few hours. Scrub the rust gently with a toothbrush or very fine steel wool. Rinse and dry thoroughly. Apply a light coat of mineral oil afterward to prevent future corrosion.
Final Transmission
Agent, your safety razor is more than just a tool: A clean, sharp, rust-free, sterile razor not only enhances your shave but ensures your shaving missions run smoothly without the interference of unwanted infections or skin irritation. Remember: proper care leads to longevity. Stay sharp, and may your shaves be smooth
Mission accomplished


